

In our January issue, we have the instructions to make this lovely arm-knitted blanket. The pattern is by Woolly Mahoosive where you can also buy chunky yarns for arm knitting. Visit woollymahoosive.com. If you’re having trouble getting started, watch this video from Woolly Mahoosive, which should give you a visual idea of how it arm knitting works and help you make sense of it all. You can buy the January issue of The Simple Things in all good shops and supermarkets or from our online store.

Make | Embroidery Hoop Templates

These sweet embroidery projects from Love Embroidery magazine are featured in our June issue. You’ll find all the instructions beginning on page 102 and you can buy the issue from our online store. But first you will need the templates. Download them below and get stitching.
Project: Jen Smith and Miriam Polak
Buy this month's The Simple Things - buy, download or subscribe
For more patterns, ideas and inspiration pick up a copy of Love Embroidery
More makes and things to do…


More from our June issue…


Make | blockprint sweater template
Give an old sweatshirt a new look in an afternoon and feel very clever indeed
In our February issue, we have a feature on how to upcycle an old sweater into something a little lovelier. All the items you need and the instructions are on page 42, and you can print out the template you will need for your blockprint below.
Good luck! And don’t forget to send us pictures of your new jumpers!
More craft projects for cold afternoons…
More from our February issue…


Photography: Joe McIntyre
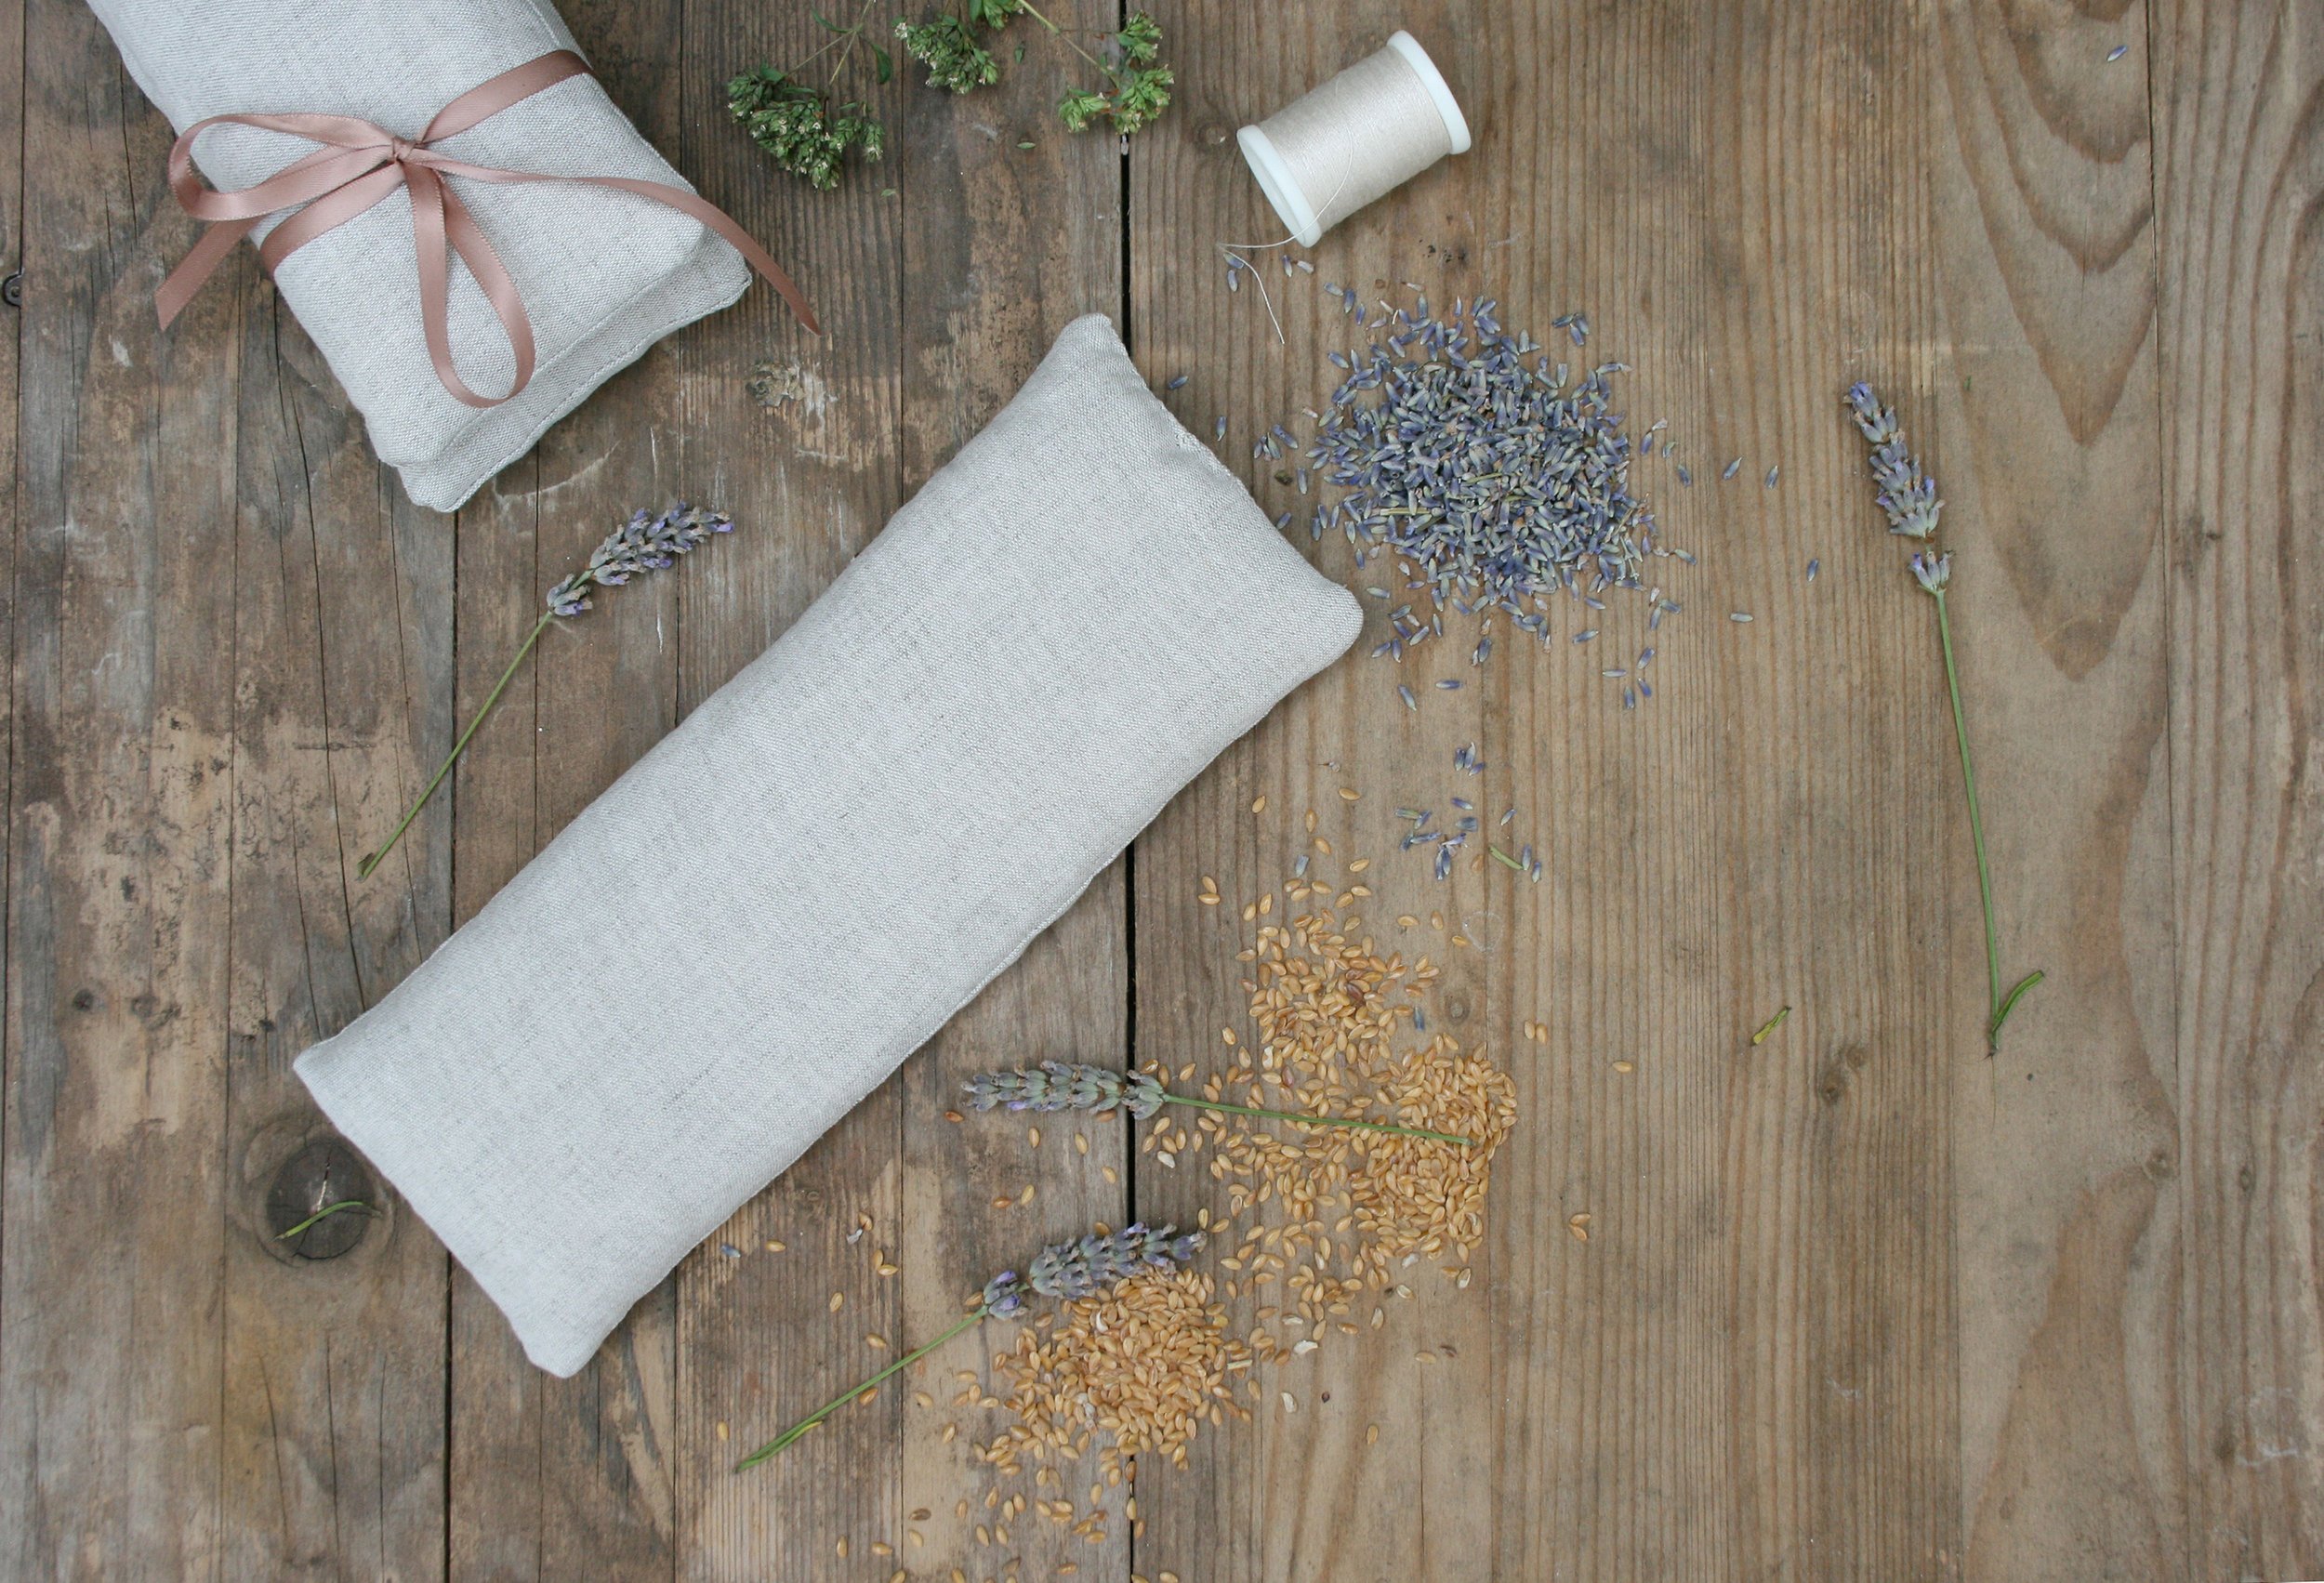
Make | Candle Holder
Light your way to bed with this easy-to-make, no-kiln-required clay candle holder
This elegant candle holder is really easy to make with just a couple of inexpensive craft purchases. It’s one of three candle holder makes created by our talented Simple Things duo, Karen Dunn and Joe McIntyre. You can find the instructions for the other two in our January issue to add a bit of glow to dark January evenings.
You will need:
Air-drying clay
Rolling pin
Craft knife
Ruler, paper, pencil and scissors
Water
White acrylic paint
Clear matte varnish, optional (we used Mod Podge)
How to make:
1 Roll out your air-drying clay so it’s around 5mm thick. Next, draw a circle on your paper (9cm diameter – you can use a mug or tin to draw around if you don’t have a compass). Then draw a 12 x 1.5cm and a 30 x 1.5cm strip and cut out.Place your templates on top of your clay and cut around them with your craft knife. Cut two of the 12cm strips. If your clay is quite wet, leave it to dry out for around 30 mins.
2 Next, score the outside edge of your circle of clay with a craft knife and add a fingertip of water. Wrap the longest of your clay strips around the outside edge and press firmly against the sides. Next, score across the join and smooth together with your fingertips
3 Take one of your smaller strips and in the middle of the clay base create a smaller circle with the strip (make sure this is bigger than the base of your candle as the clay will shrink as it dries). Once you have made a ring with the strip of clay, score the bottom, add a fingertip of water and press the edge of the strip down gently to attach in the middle of the base.
4 Take your final strip of clay and lay it across the base of the circle – from the central ring to the inside edge of the outer strip of clay. Loop the strip over your finger and, using the same method as before, secure it to the outside edge. Allow the clay to dry for around 24-48 hours.
5 Once dry, paint your holder with acrylic paint. Then, when completely dry, cover with a layer of matte varnish for a protective finish.
Buy this month's The Simple Things - buy, download or subscribe


