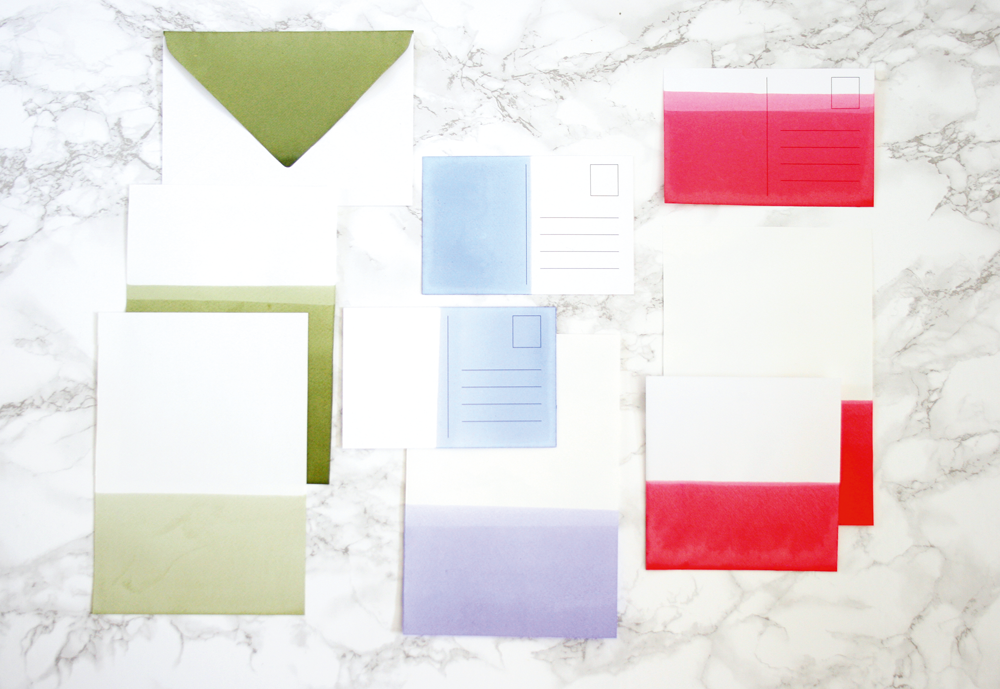
While away a crafternoon learning the art of dip dye and emerge with your very own stationery set
September is all about new stationery for us, so we needed no more excuse than that to dig out this weekend project from our issue 67 for making your very own dip dye stationery.
You will need:
A selection of paper, envelopes and postcards
Hand fabric dye powder (we used Dylon)
Warm water
Measuring jug
Vessel for holding your dye (a washing-up bowl, bucket or Tupperware box works well*)
Length of twine
Clothes pegs
Scissors
1 Before you start, tie a length of twine, washing line-style, nearby, ready for hanging your paper to dry. Cover any surfaces with newspaper.
2 Make up your dye solution. Start with pouring 1 litre of warm water into your vessel. Add 4 tsp of dye powder and stir until dissolved: the amount you use will determine the strength of your colour, so use a piece of scrap paper to test.
3 Once you’re happy with your dyeing solution, take your piece of paper and – slowly, carefully – insert it into the dye solution, only immersing the amount of paper you’d like coloured. Hold it in the solution for a few seconds and then, slowly and carefully again, draw it out of the solution. Hold the paper over for a moment to catch any drips of dye. You can dip again for a slightly stronger coverage.
4 Peg your dip-dyed stationery to your length of twine to dry. If, once dry, your stationery is a little curled at the edges, place inside a heavy book and leave for 24 hours
Buy this month's The Simple Things - buy, download or subscribe


