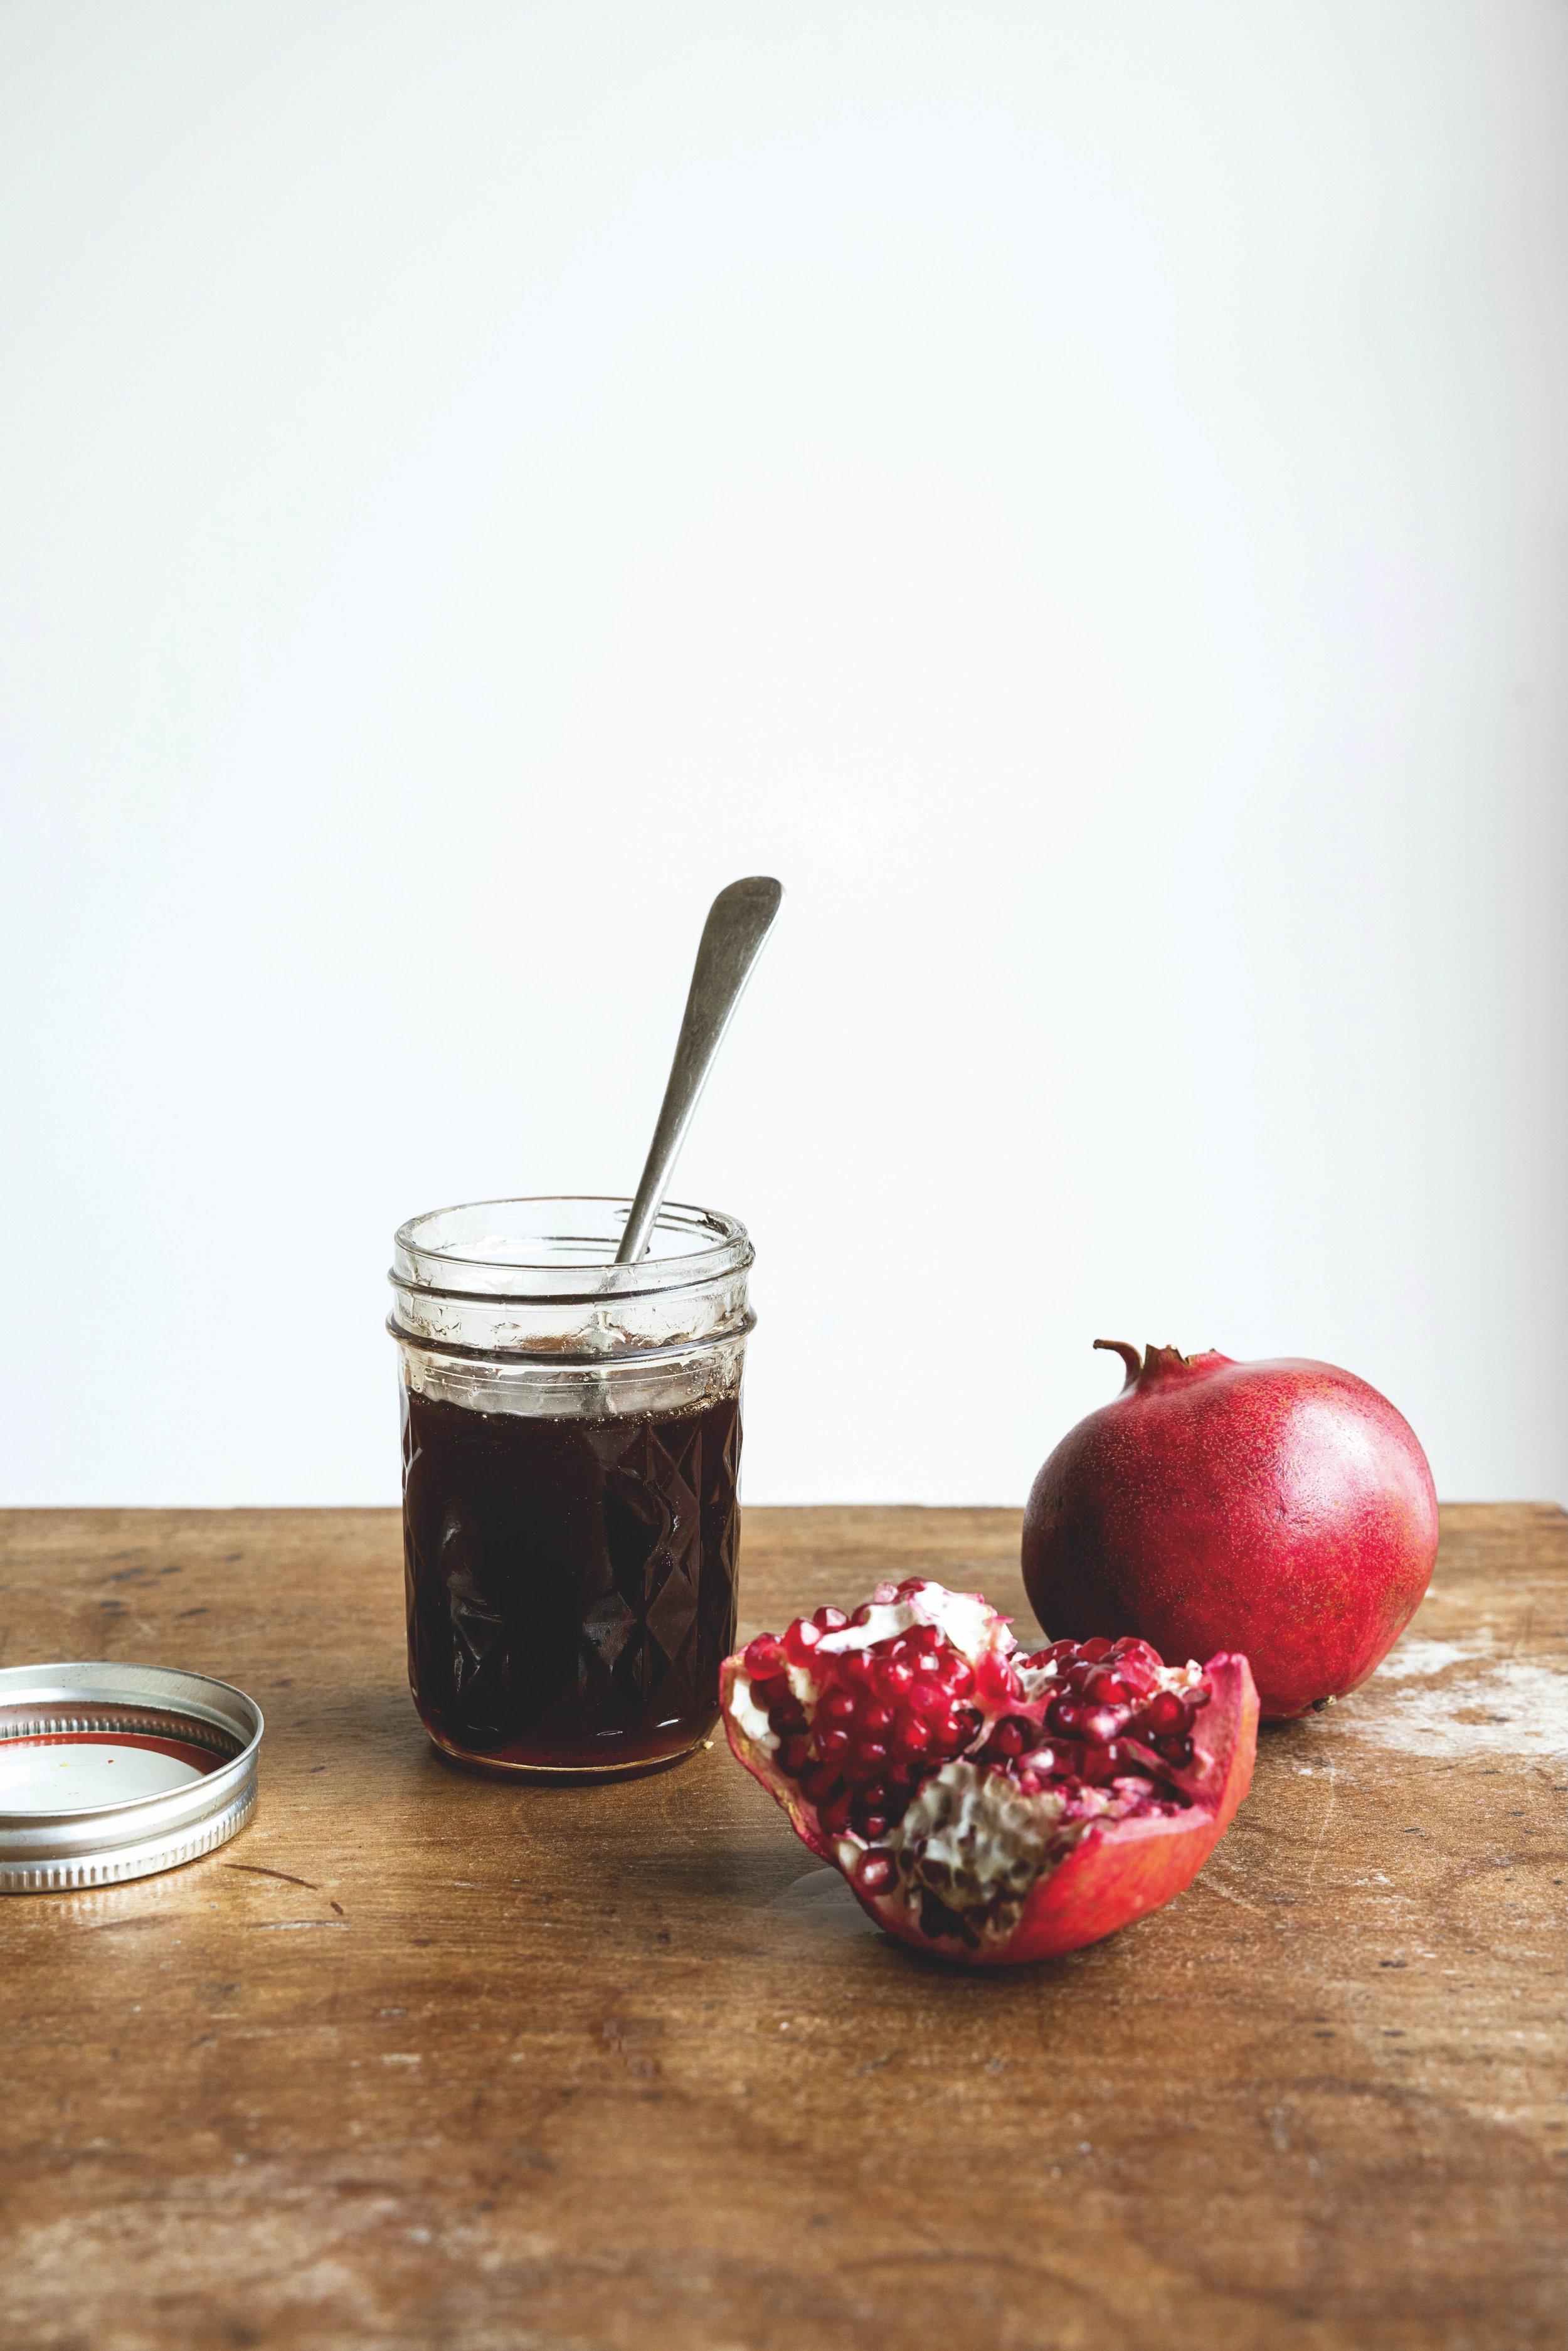
Homemade pomegranate molasses is both sweet and sour – drizzle it over bread and cheese or use it in dips, dressings and even drinks or desserts. Its vibrant colour will help give you a lift at the dog end of winter, too
Makes around 280ml
4-6 large pomegranates (juiced to produce 1 ltr pomegranate juice)
125g sugar
1 large lemon (juiced, to produce around 60ml lemon juice)
1 Peel the pomegranates and remove as much pith and membrane as you can, leaving the seeds intact.
2 Put the seeds in a large sealable plastic bag – you may have to do this in batches. Use a rolling pin to roll over the seeds, releasing their juices.
3 Cut a tiny hole in the corner of the bag and pour the juice into a saucepan. Squeezing the leftover seeds will release the last few drops.
4 Add the sugar and lemon juice to the saucepan and place over a medium-high heat. Once the juice starts to boil, reduce the heat and simmer. You should see the liquid boiling very gently in the middle. Let the mixture simmer for 45 mins, stirring occasionally to make sure that the juice doesn’t catch.
5 Reduce the heat very slightly and let it simmer gently for another 15 mins. To see if it’s ready, dip a spoon in. If it coats the spoon, it’s done.
6 Remove from the heat and leave the mixture to cool in the pan for 30 mins, then pour into a sterilised jar. The mixture will still be runny at this point but will thicken as it cools.
Cook’s note: You can store the molasses in the fridge for up to 6 months.
A project for while your molasses cools…
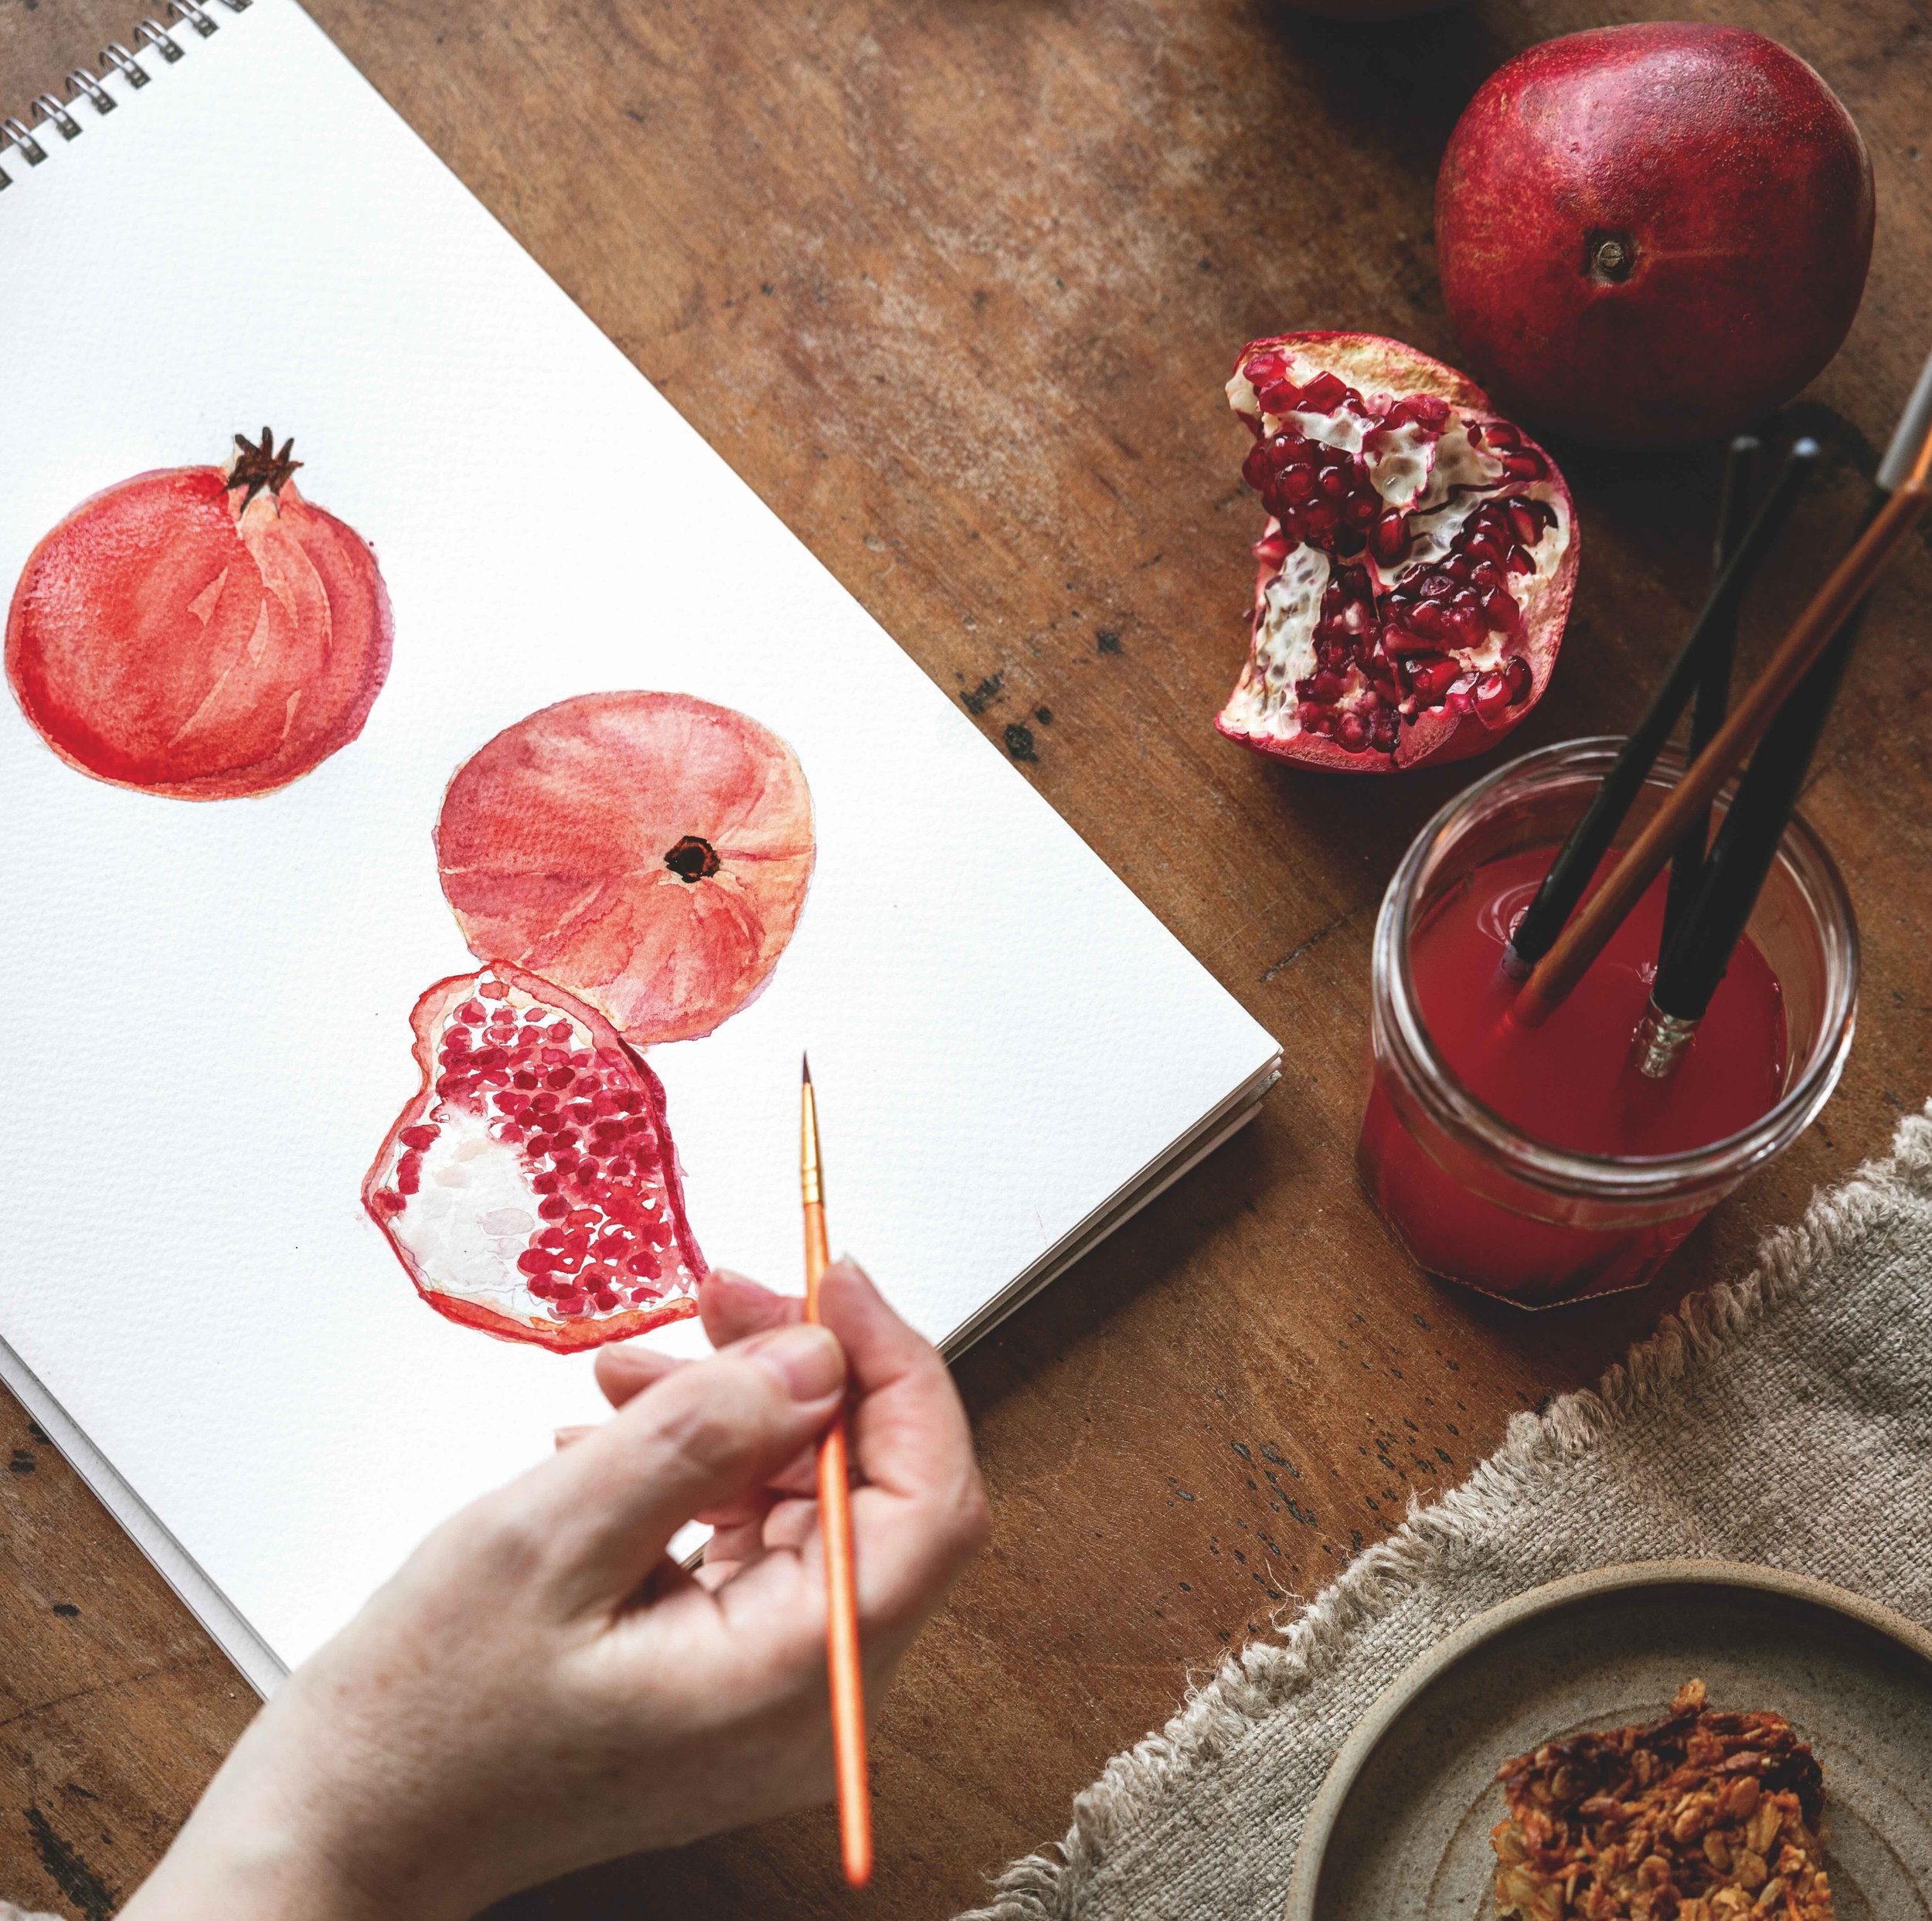
Watercolour painting is a quietly mindful activity that you can do while waiting for the oven timer to ping. Shed any thoughts of proficiency, this is not meant to be a masterpiece. The point is to simply look deeply and try to recreate what you see.
You will need:
Pomegranate, cut or torn in half
Watercolour paper
Pencil
Rubber
Paints
Palette or old plate
Brushes
Jar of water, for rinsing brushes
1 Arrange your pomegranate sections and take time to really look at it – its shapes, colours and textures, and how the light falls on the fruit. Notice what you’re feeling – perhaps you’re excited or nervous or calm.
2 With your pencil, sketch out the shape of the fruit – its form and the detailing around the seeds and their membranes. Use the rubber to remove any sections you’re not happy with and play around until you’ve got something you’d like to paint.
3 On your palette or plate, combine the colours you want to use. Adding a tiny amount of blue or yellow to pinks and reds can add depth to the colours in ready-mixed paints.
4 Begin to transfer the paint from palette to paper, building up in layers to create depth. With watercolours, you can continue to layer up when the paint is wet if you want to combine colours or wait until each area is dry if you don’t want colours merging, such as the yellow of the pith. Allow your painting to dry fully before putting it somewhere for you to admire.
This recipe and project are taken from our new series, Kitchen Therapy in which we celebrate spending time at home, cooking and baking, as a form of self care. Find more recipes and ideas for the end of winter in the February issue, which is out now. The recipes and makes are by Lottie Storey and the photography is by Kym Grimshaw.
Buy this month's The Simple Things - buy, download or subscribe


